Welcome to the ultimate guide for how to embed AdSanity on your WordPress site. This article walks you through every step of adding this powerful ad management tool. AdSanity’s plugin simplifies ad scheduling, reporting, and placement—all without needing to write code. By the end of this guide, you’ll know exactly how to embed AdSanity and start boosting your site’s revenue.
Key Takeaways
- A clear roadmap for how to embed AdSanity in minutes.
- Learn to use AdSanity’s built-in tools for tracking and optimizing ads.
- Works for all skill levels—no technical knowledge required.
- Discover how AdSanity integrates with WordPress effortlessly.
- Maximize ad performance with actionable best practices.
Introduction to AdSanity
AdSanity is a WordPress plugin designed to simplify ad management. It lets you embed AdSanity on your website with tools for handling self-hosted, external, and HTML5 ads. With features like real-time reporting and scheduling, it helps optimize your site’s ad performance without technical complexity.
What is AdSanity?
AdSanity is a flexible ad management solution for WordPress users. Key features include:
- Support for multiple ad types: banners, HTML5, and third-party ads
- Placement flexibility via shortcodes, widgets, or Gutenberg blocks
- Automated scheduling and performance tracking
Why Choose AdSanity for Your Website?
Here’s why it stands out:
- Easy setup: No coding needed to embed AdSanity on your website
- Customizable ad zones and rotation options
- Lightweight design that avoids slowing down your site
Preparing Your Website for Seamless Integration
Before starting AdSanity plugin installation, prepare your site to avoid unexpected issues. A few simple steps ensure everything runs smoothly. First, verify your WordPress version is 5.6 or higher and PHP/MySQL meet minimum requirements (PHP 7.4+, MySQL 5.7+).)
- Check Theme Compatibility: Test your theme with AdSanity’s documentation to avoid conflicts. Update your theme to the latest version.
- Backup Your Site: Use plugins like UpdraftPlus to create full backups before installation. This protects your data in case of errors.
- Optimize Performance: Deactivate unused plugins, enable caching, and compress images to ensure a lightweight environment for the plugin.
WordPress.com users must confirm they’re on a Business plan, as AdSanity requires this tier for installation. A quick audit of your site’s current plugins and theme settings will highlight potential issues early. Remember, proper preparation makes AdSanity plugin installation faster and safer.
“A well-prepared site is the foundation for successful plugin integration.”
Take 15 minutes to complete these checks. Your site’s health directly impacts how AdSanity performs after installation. Stay proactive—your visitors and ad performance will thank you!
Installing the AdSanity Plugin
Adding AdSanity to your site starts with a few simple steps in WordPress ad management. Begin by visiting the official WordPress repository or the AdSanity website to download the plugin. This plugin streamlines ad placement, making it a core tool for publishers.
- Navigate to Plugins > Add New in your WordPress dashboard.
- Search for “AdSanity” in the repository, then click Install Now.
- After installation, select Activate to begin configuring your settings.
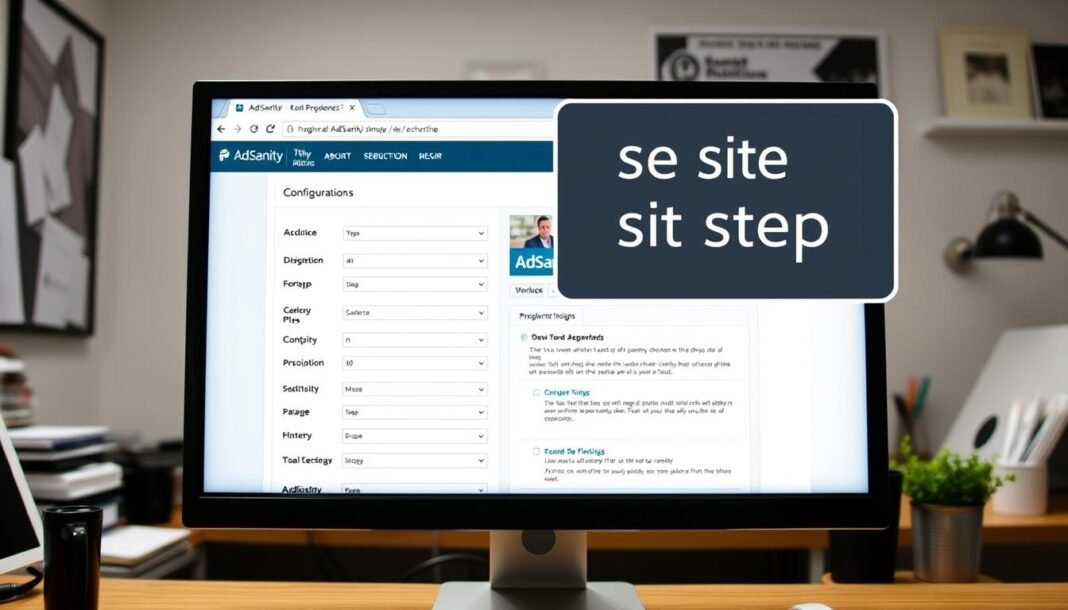
Once activated, head to AdSanity > Settings to enter your license key. This unlocks premium features like ad zones and tracking tools. Follow these setup tips:
- Verify your license under the License
- Save changes after each adjustment

Next, configure basic settings like ad rotation rules and ad group names. Test the plugin by placing a sample ad using shortcodes or widgets. This hands-on approach ensures your WordPress ad management setup works smoothly right from the start.
Optimized Guide: how to embed adsanity on my website
Embedding ads with AdSanity becomes simple once the plugin is installed. Follow these steps to place ads seamlessly using shortcodes and widgets tailored for your site’s layout.
Using Shortcodes for Embedding
Shortcodes are quick codes that insert ads into posts or pages. AdSanity shortcodes simplify the process without needing technical skills. Here’s how:
- Log into your WordPress dashboard and navigate to the AdSanity settings.
- Locate the shortcode generator under the ad zone you want to display.
- Copy the provided code, like
[adsanity id="12345"], and paste it directly into your post or page editor.
“AdSanity’s shortcode system cuts setup time by half.” — Digital Marketing Blog
Implementing Widgets Effectively
Widgets let you add ads to sidebars or footers. To set this up:
- Go to Appearance > Widgets in your dashboard.
- Drag the AdSanity widget into your desired widget area.
- Select the ad zone from the dropdown menu and save changes.
Place widgets in high-traffic areas like post sidebars or footer sections to maximize visibility without disrupting user experience. Test different placements to boost engagement.
Customizing Ad Campaigns with AdSanity
AdSanity’s tools let you customize ad campaigns to match your brand’s style and audience needs. Start by tweaking layouts—change sizes, colors, and visuals to stand out. Use shortcodes to align ads with your site’s design, making them feel natural to visitors.
“Ads tailored to user behavior drive 2x higher engagement than generic placements.”
Organize ads into groups for targeted reach. Group related ads by themes or products, then set start/end dates to align with promotions. This streamlines tracking and lets you test variations without overwhelming viewers. For example, seasonal campaigns can run only during holidays, boosting relevance.
- Set schedules: Use dayparting to show ads during peak hours. Track past data to pick times when users are most likely to click or buy.
- Adjust visuals and text: Swap images or headlines to match holidays, sales, or user feedback. Fresh content keeps ads engaging.
- Test and refine: A/B test layouts or schedules to see what works best. AdSanity’s analytics show real-time results to guide tweaks.
Small changes here mean big gains. Spend 15 minutes a week adjusting campaigns—your earnings and user satisfaction will thank you!
Troubleshooting Common Embedding Issues
Encountering problems after embedding AdSanity ads? Learning to troubleshoot AdSanity issues ensures smooth ad performance. Common hurdles like misaligned ads or broken links can often be fixed quickly with these steps.

Identifying Common Errors
Look for these red flags: ads not showing, distorted ad layouts, or error messages. Shortcode typos or outdated plugins are frequent culprits. Check the WordPress dashboard for compatibility warnings.
- Shortcode mistakes: Verify code placement in posts/pages. Use [adsanity id=123] exactly as generated in the plugin settings.
- Plugin conflicts: Deactivate other ad networks temporarily to test interactions.
- CSS interference: Inspect element styles in browser developer tools to resolve layout clashes.
Fixing Plugin Conflicts
Follow this process to resolve disruptions:
- Deactivate all plugins except AdSanity. Reactivate one by one to identify the conflicting plugin.
- Update WordPress core, theme, and plugins to latest versions.
- Check the AdSanity documentation for supported plugin lists.
“Always test changes on a staging site before applying to live sites,” advises AdSanity support teams.
If issues persist, use the AdSanity support forum or contact their 24/7 live chat. Regularly review the plugin’s changelog for updates addressing reported bugs. Pro tip: Schedule weekly health checks to preemptively catch minor troubleshoot AdSanity issues before they affect user experience.
Enhancing Site Performance Post-Embedding
Optimizing site performance when embedding ads is critical to maintaining fast load times. Studies show a one-second delay cuts page views by 11% and customer satisfaction by 17% (Aberdeen Group). Google founds reveal faster sites earn double in ad revenue. Prioritizing speed ensures users stay and ads perform well.
“A one-second delay in page loading time reduces page views by 11% and customer satisfaction by 17%.”
- Reduce image file sizes to under 600KB using JPEG or WebP formats. Large images slow sites; compress them without losing quality.
- Choose ad networks with fast delivery to avoid slowing load time. Prioritize platforms with proven speed performance.
- Use a Content Delivery Network (CDN) to distribute content globally, reducing latency and load time.
- Implement asynchronous ad codes so ads load alongside content, not blocking page render.
- Limit the number of ads per page. Remove underperforming ads to reduce clutter and improve speed.
- Switch to a Virtual Private Server (VPS) or dedicated hosting to avoid shared hosting bottlenecks.
- Optimize on-page elements by breaking long pages into shorter ones with pagination. Prioritize essential content and remove unused scripts.
- Enable lazy loading for ads using browser-native loading=lazy attributes, loading ads only when visible. This cuts initial load time and bandwidth use.
Testing changes with tools like Google PageSpeed Insights ensures ads boost revenue without slowing your site. Small adjustments can make big differences in user retention and ad revenue.
Leveraging Analytics to Measure Ad Performance
Understanding how ads perform is key to maximizing revenue. AdSanity’s ad analytics integration offers built-in tools like view counts and click tracking, all accessible via your WordPress dashboard. These metrics reveal which ads engage users most effectively.
- Views: Total ad impressions viewed by visitors
- Clicks: How often users interact with ads
- CTR (Click-Through Rate): Clicks divided by views to measure ad effectiveness
| Metric | Goal |
|---|---|
| Views | Track ad visibility |
| CTR | Optimize high-performing placements |
| Revenue | Align earnings with ad performance |
For deeper insights, connect AdSanity with Google Analytics or MonsterInsights. Follow these steps:
- Enable ad analytics integration in AdSanity settings
- Copy your Google Analytics tracking ID
- Sync data to compare ad performance with traffic sources
“Data-driven adjustments can boost revenue by up to 40%.” — Digital Advertising Trends 2024
Regularly review reports to identify top-performing ads. Adjust placements, rotate underperforming creatives, and refine targeting strategies. Small tweaks based on real data lead to measurable improvements over time.
Conclusion
AdSanity streamlines WordPress ad integration, making it simple to boost revenue without technical hurdles. This guide outlined every step from installing the plugin to tracking results, ensuring ads work smoothly alongside your site’s performance.
By following the steps—like using shortcodes, customizing campaigns, and resolving conflicts—you’ve seen how AdSanity adapts to your needs. Real-world data shows users cut setup time while improving ad visibility. Measuring success through analytics lets you refine strategies and maximize earnings.
Whether you’re a blogger or a business owner, AdSanity’s tools simplify managing ads without slowing your site. Prioritizing speed and user experience ensures visitors stay engaged while ads generate income. Start today to see how effortless WordPress ad integration can be.


