Your ATV’s plastic parts can lose their vibrant look over time due to sun exposure, dirt, and harsh weather. Fading and wear aren’t just cosmetic issues—they can weaken materials and shorten their lifespan. This guide shows you how to restore faded plastic on an ATV using easy DIY steps. Learn techniques to revive your machine’s appearance without breaking the bank. Whether you’re tackling scratches, yellowing, or oxidation, these methods work with affordable tools and products.
Key Takeaways
- Faded ATV plastic results from UV rays, dirt, and oxidation.
- Simple DIY methods can restore faded plastic on ATVs effectively.
- Regular maintenance extends the life of restored plastic parts.
- Cheap supplies like carnauba wax or plastic dressings work well.
- Proper cleaning before applying protective coatings ensures better results.
Understanding Faded Plastic on ATVs
Before diving into ATV plastic restoration tips, it’s key to grasp why plastics fade. Environmental and physical stressors take a toll over time. Learning these factors helps prevent further damage and guides effective fixes.
Common Causes of Fading
Plastic parts face daily threats that wear them down. Here’s what to watch for:
- UV rays: Sunlight breaks down plastic polymers, causing yellowness and brittleness.
- Dirt and mud: Grime traps moisture, leading to stains and surface etching.
- Impacts: Rocks and debris scrape surfaces during off-road rides.
- Chemical exposure: Gasoline, oils, and cleaning agents can degrade coatings.
Identifying the Signs of Wear
Early detection stops small issues from worsening. Look for these red flags:
Cracks and chips: Tiny fractures spread over time if ignored. Check edges of fenders and bumpers.
Discoloration: Yellowing or bleached patches signal UV damage. Compare old vs. new parts for contrast.
Rough texture: Smooth plastic becomes gritty when oxidized. Rub surfaces to feel changes.
Spotting these clues early makes ATV plastic restoration tips more effective. Addressing root causes like UV exposure or abrasion ensures lasting results.
Essential Materials for Restoration
Restoring faded ATV plastic requires the right tools and products to achieve a durable, professional result. Start by gathering everything needed before beginning your faded ATV plastic repair project.
Must-Have Tools and Supplies
- Sandpaper (600–1500 grit for surface prep)
- Oscillating tool or buffer for even application
- Paint thinner or isopropyl alcohol for cleaning
- Microfiber cloths and applicators
Recommended Products and Brands
Quality products make a big difference. Trusted brands include:
- Lexol Plastic & Rubber Protectant for deep conditioning
- 303 Aerospace TCP-2 Protectant spray for UV protection
- Boiled linseed oil for restoring natural plastic shine
- PlastX Vinyl & Rubber Renew for stubborn fading
Combine these with vinyl liquid wax for final sealing. Avoid generic cleaners—specialized products like faded ATV plastic repair kits from brands like Mother’s or Griot’s Garage ensure longevity.
Step-by-Step Cleaning Process
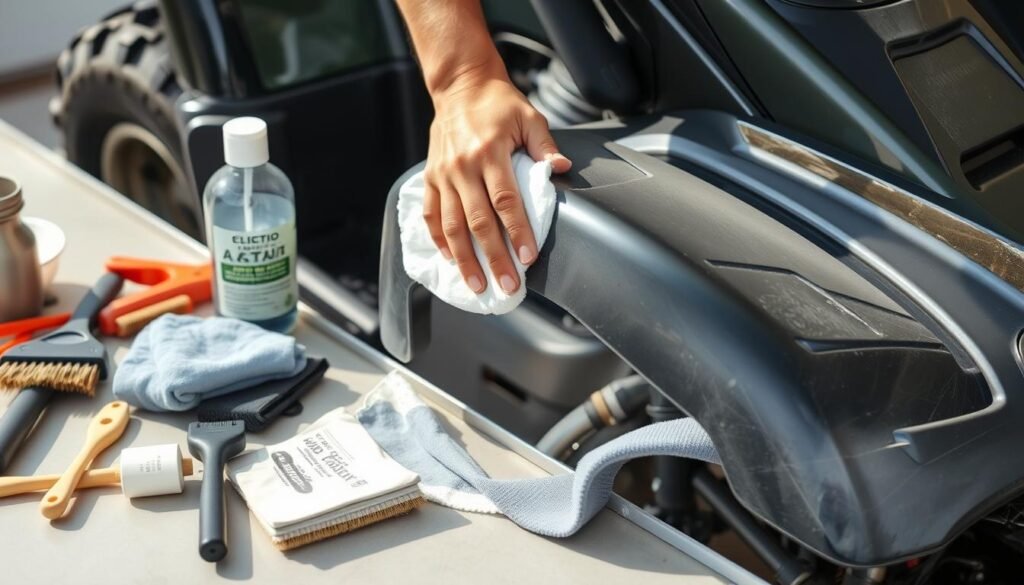
Mastering DIY ATV plastic cleaning starts with a thorough clean. Follow this easy method to prep your ATV’s surfaces for restoration:
- Wipe down the plastic with a microfiber cloth to remove loose dirt.
- Mix mild dish soap with water in a bucket. Use a soft brush to scrub surfaces, focusing on grimy areas.
- Rinse thoroughly with a hose, avoiding high-pressure streams that can damage plastic.
- Apply isopropyl alcohol with a clean cloth to dissolve stubborn grease. Let it evaporate naturally.
For tougher grime, spray a degreaser like Simple Green onto the surface. Let it sit for 5 minutes before scrubbing. Rinse again and dry completely before moving forward.

“A clean surface is the foundation of any restoration project,” says expert mechanic Sarah Thompson. “Skipping this step risks uneven finishes later.”
Pro tip: Test cleaners on a small area first. Avoid abrasive sponges to prevent scratches. Use rubber gloves and work in shaded areas to protect materials from sun damage.
Once dry, inspect surfaces for leftover residue. A final wipe with a damp cloth ensures no traces remain. This prep work guarantees your restoration efforts stick and shine longer.
Preparing the ATV for Restoration
Before starting any cost-effective ATV restoration, proper preparation ensures your work lasts. Clean and treated surfaces guarantee materials bond properly. Begin by removing accessories like racks or bumpers for full access. Time spent here avoids costly mistakes later.
Surface Cleaning and Degreasing
Use a 3M brush and Simple Green cleaner to scrub surfaces. Follow these steps:
- Wash with warm water and mild detergent.
- Apply degreaser like CRC 5-56 to oily spots.
- Rinse thoroughly and dry with microfiber towels.
Stubborn residues? Try Goo Gone for grease removal. Rinse again to eliminate all traces of soap.
Pre-Treatment Considerations
Protect unpainted parts with 3M masking tape. Let cleaned surfaces dry 24 hours before moving forward. A quick checklist:
- Mask wheels, lights, and decals
- Avoid humidity; work in dry conditions
- Test a small area first
| Step | Action | Why It Matters |
|---|---|---|
| Masking | Cover non-paint areas | Prevents overspray damage |
| Drying | 24-hour wait | Ensures adhesion |
| Test | Apply primer to a hidden spot | Avoids full-surface failures |
Skipping these steps risks peeling coatings or uneven finishes. Patience here saves time and money in the long run.
how to restore faded plastic on atv
Begin by mixing a 40/60 blend of boiled linseed oil and paint thinner. This solution penetrates deep into plastic to revive its original texture. Apply it evenly using a clean cloth, focusing on cracked or discolored areas.
Applying the Right Techniques
Use a microfiber cloth to spread the solution in circular motions. Let it sit for 10–15 minutes, then wipe off excess. For stubborn wear, apply a second coat after drying. Avoid over-saturating to prevent dripping.
Layering and Coating Methods
Start with a base layer of boiled linseed oil for ATV plastic. Wait 24 hours before adding a second thin layer. For extra protection, apply a clear automotive wax after the final coat dries completely.
- Apply first layer and let dry overnight.
- Buff lightly with a soft cloth after each coat.
- Finish with a UV-resistant sealant for long-term results.
“Three coats of boiled linseed oil made my ATV’s faded fenders look showroom new!” – Off-Road Forums member, 2023
Pro Tips for a Long-Lasting Finish
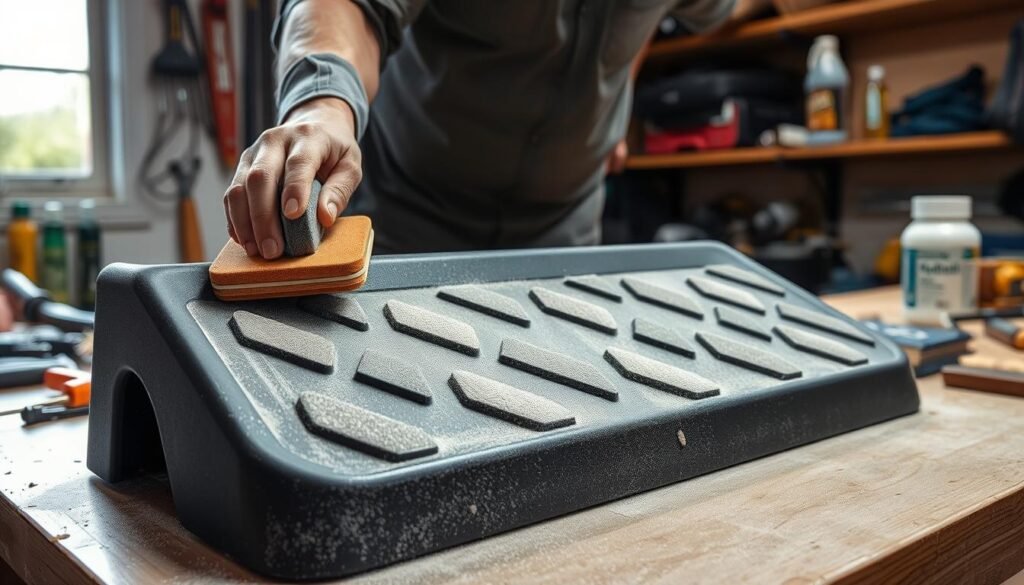
Mastering wet sanding for ATV plastic and proper finishing techniques ensures your restoration lasts seasons. Start by following this grit progression:
- Soak 220-grit silicon carbide sandpaper in water for 10 minutes before use.
- Sand in circular motions, rinsing the surface between each grit (400, 600, 800, 1,200, and final 1,500-2,000 grit).
- Wipe residue after each stage to prevent haze.

| Pad Type | Best Use | Grit Range |
|---|---|---|
| Foam | General polishing | Medium to fine grits |
| Wool | Heavy oxidation removal | Coarse to medium grits |
| Microfiber | Final finishing | Ultra-fine grits |
Buffing? Keep these rules in mind: low RPM settings (800-1,200 RPM) prevent overheating. Use light pressure and move the buffer steadily—linger too long in one spot and you risk burns. Clean pads between grits to avoid contamination.
- Apply polish sparingly: a pea-sized amount goes farther than you think.
- Avoid edges—plastic can warp under heat. Hand-polish high-risk areas.
Follow these steps, and your ATV’s plastic will stay vibrant for years. Precision in wet sanding for ATV plastic and tool selection turns DIY efforts into professional results.
Budget-Friendly Restoration Techniques
Restoring ATV plastics doesn’t require a luxury budget. Start by repurposing common items like automotive wax or silicone-based sprays for ATV plastic waxing. Pair these with affordable sealants for a protective barrier against UV rays. Online forums and hardware stores offer practical solutions that cut costs without sacrificing quality.
Cost-Effective Materials and Methods
- Use automotive-grade coating sprays like Dupont™ Armor or 303 Aerospace Protectant for a fraction of specialized ATV products.
- Wet-sand surfaces with 1500-2000 grit sandpaper (under $10 at Home Depot) to smooth out minor imperfections before sealing.
- Apply polymer-based protectants from Walmart or AutoZone—often priced under $20 but lasting 6–12 months.
DIY Hacks for Better Results
A coating alternative: Mix carnauba wax with mineral spirits to create a DIY sealant. Apply with a microfiber cloth for a glossy finish. Test this solution on a small area first.
| Material | Cost | Effectiveness |
|---|---|---|
| Automotive Wax | $5–$15 | Good UV protection |
| Food-Grade Silicone Spray | $3–$7 | Easy application, water repellency |
| DIY Polymer Mix | $10–$15 | Lasts 3–6 months |
“A $10 can of auto wax works miracles if applied properly.” – ATV Restorer’s Forum, 2023
Combine these methods for a restored look. Avoid over-polishing, which can strip plastic. Let each layer cure fully before driving.
Maintenance Tips Post-Restoration
Protecting your freshly restored ATV plastics requires consistent care. Follow these steps to extend the long-lasting ATV plastic finish:
- Wash monthly with mild soap and a microfiber cloth to remove dirt and UV damage.
- Reapply UV-protectant wax every 3-6 months using products like 303 Aerospace Protectant or Plastic & Rubber Cleaner.
- Store your ATV in a shaded area or garage to block direct sunlight.
“Avoid harsh abrasives at all costs—they’ll strip protective coatings,” says ATV restoration pro Sarah Lee.
Avoid parking near trees to prevent sap or acid rain damage. Check for cracks yearly and touch up with plastic polish. Using a breathable cover during storage adds extra defense against environmental wear. Small scratches? Lightly buff with a 1000-grit pad and reapply sealant. Prioritizing these steps ensures your long-lasting ATV plastic finish stays vibrant through seasons of use.
Conclusion
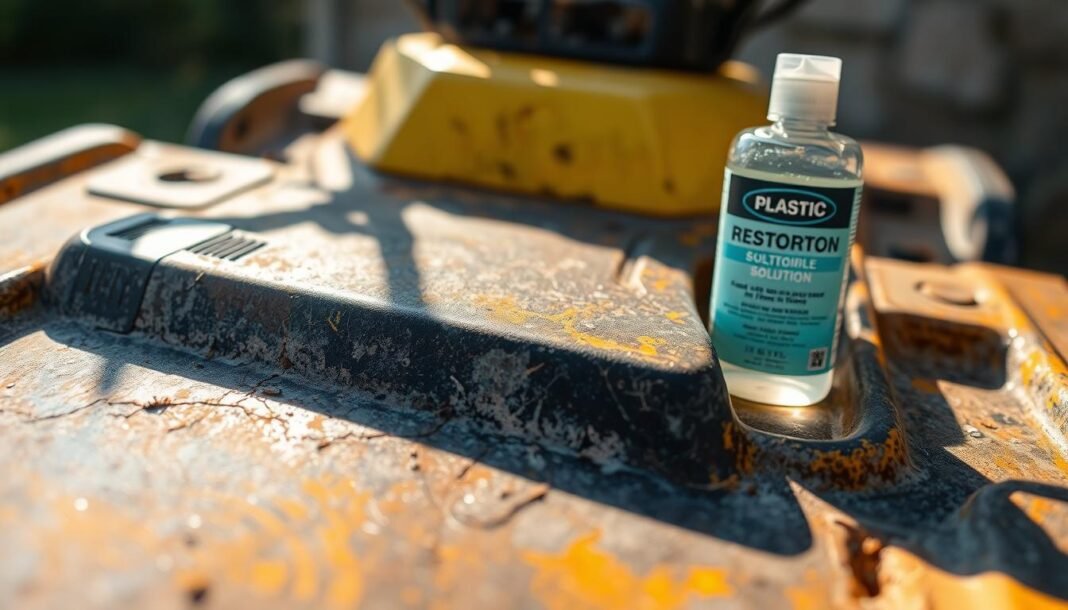
Restoring faded ATV plastics is within reach with the right approach. Start by cleaning surfaces thoroughly with isopropyl alcohol and let them dry completely. Choose trusted products like Solution Finish or CAR GUYS Plastic Restorer for optimal results. Applying automotive wax after restoration adds a protective layer against UV damage. Regular ATV maintenance and proper plastic care ensure your vehicle stays vibrant, boosting both appearance and resale value.
Protect your investment by storing the ATV in shaded areas and reapplying sealants annually. Methods like liquid wax or plastic restorers offer lasting results when followed correctly. Avoid heat guns, as they weaken plastic over time. By prioritizing upkeep, your ATV’s plastics will resist fading and maintain their shine for years. Take pride in your work—every step keeps your machine adventure-ready and looking its best. Happy trails!


